When I was first planting climbing roses, I had noooo idea they needed a trellis. I was a fresh rookie, thinking that the rose stems would just kind of…weasel their way up the side of the house? I don’t know what I was on about, but before I could blink, long stems were dragging along the floor, and it was then that I knew I had to act! Buying a trellis is as simple as driving to your Home Depot and picking the coolest-looking one. However, in the spirit of DIY, making a rose trellis yourself is not too complicated either!
How To Make A Rose Trellis For Your Garden
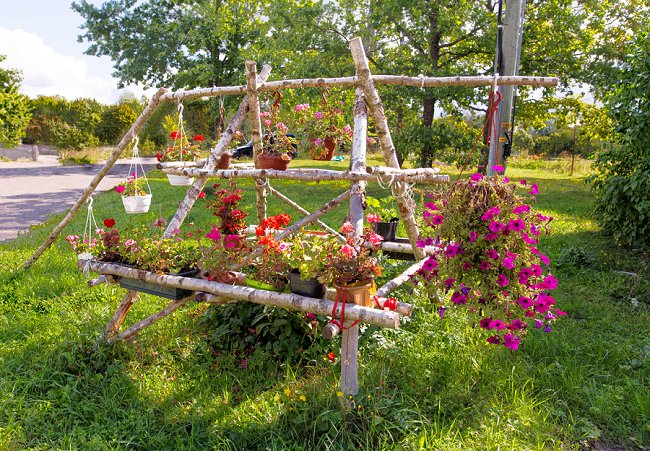
The simplest rose trellis you can make can come to life from just a few collected or pruned branches from a sturdy, hardwood tree.
Table of Contents
How to make a tree-branch rose trellis
This DIY rose trellis is the simplest one. It is easy to make, you can complete it in an afternoon, and it’s a natural, fun project to complete by yourself or with the kids! And, of course, it will look amazing in your garden. This trellis looks especially rustic, so don’t worry if all the branches aren’t perfect-looking and all down to the inch the same length! Furthermore, some variety and fun is allowed, and makes your makeshift trellis look all the more charming!
To start with, you will need to gather some approx 7 large branches, 5ft or longer. You can collect these from the ground, especially in the autumn months, or you can also prune them straight off of a tree.
Look for trees that are sturdy, with older, healthy branches not prone to breaking easily.
Tools you will need:
- pruning shears
- shears for branches
- copper wire or a nail gun (or, both, for extra security)
- garden twine
- handsaw for woodworking or an automatic saw
- a ruler
The process:
- Find or take several branches from sturdy, hardwood trees. Make sure the branches are not too thick, but they should also not be bendy. If you can’t harvest branches already fallen, or can’t find any good ones, use branch shears to harvest 7 tree branches in total for the trellis support system.
- Out of the 7 branches, cut 4 branches to 5 feet in length, and cut 3 branches to 3 feet in length. While doing so, make sure to prune the branches themselves to give a clean and sharp look. This means removing any tiny side growths, lateral thin shoots, leaves or flowers.
- To begin with, lay out your branches onto a flat surface on the floor to make it easier to assemble. The longer (5 feet) branches should be spaced vertically, with about 1 foot of space between them, for which you can use the ruler to do right. The other 3 branches should be laid atop these horizontally – space them out evenly as well. Make sure to have vertical branches extend further at the bottom than at the top, to make it easier to bury the trellis into the ground.
- Secondly, once branches are aligned how you want them to be, use your nail gun (CAREFULLY) to fasten the branches at the intersection. For additional support strength, wrap the intersects with copper wire, which you can subsequently hide with garden twine if you find it unsightly. Make sure to wrap in diagonals, over and around, to really keep the branches together.
- Done! Finally, bury your trellis longer-side-down into the ground at your desired location.
How to make a Simple Square Trellis
Tools you will need:
- 2 planks of wood, which are 1 inch x 2 inch x 6 feet
- 7 planks of wood, which are 1 inch x 3 inch x 3 feet
- nail gun
- triangle for measuring corners
- saw
The process:
- Firstly, lay down your longer pieces vertically onto the ground. Shorter pieces go across to form a ladder.
- Space longer pieces 18 inches apart, and space out shorter pieces about 7 inches apart.
- Make sure all wood pieces are of equal length and at an angle. Make sure to saw the edges at a 45 degree angle, to make it easier to hammer into the soil.
- Lay out your top and bottom bars onto the upright long planks to make a frame. Use a triangle or a metal square to make sure all angles are 90 degrees.
- Finally, once you assemble the frame and it looks good, use long nails in a nail gun to fasten them at intersections.
- Mark along the long planks at proper intervals where you want your shorter planks to form ladders, depending on whether you want a tighter or spacier ladder. PRO TIP – tighter ladders help roses grow faster!
- Continue placing a plank by a plank onto the longer planks on the markings you made. Fit each one, measure, check angles and corners and once you’re sure, secure with the nail gun.
- Once you complete your trellis, hammer it into the ground or drill it to hang from your wall!
How to make a Fan Rose Trellis
Fan garden trellises have been all the rage on Pinterest lately, and I would be a big meanie if I didn’t share this super-easy way to make one yourself! This one doesn’t even include any branch-foraging – straight to the hardware store it is, where you can simply buy pre-cut and pre-treated wood, guaranteed to last even in a DIY.
Tools you will need:
- 1 inch x 2 inch x 6 feet wooden planks, which you can cut to sizes easily (get about 7-8)
- saw for woodworking
- clamps
- tape for measuring
- nail gun
The process:
Framing the planks
- Use five longer planks of wood in the shape of a fan. Smaller planks of wood serve for vertical support ladders. The size depends on you – I urge you to measure your space well and decide how far your fan can fan out, and how tall you want your trellis! However, no matter the size of your trellis, the tutorial scales the same.
- Firstly, longer planks go vertically. Lay them out on a flat woodworking surface (eg. sheet of plywood) which will fit your entire finished product.,Pull them apart into a fan shape, one plank is in the middle, with other four fanning out on each side of the centre plank.
- Secondly, make sure your planks are properly spaced out at top and the bottom. Finally, use a flat edge at the bottom to push the trellis slightly upwards. This will align the ends of the longer planks perfectly at the base until they match.
- Measure the width of this aligned base. Add 6 centimetres, or about 3 cm to each side. From your leftover planks, saw off a plank which is the measured width + 6 centimetres.
- Align the cut piece on top of the base so that 3 centimetres fall to each side.
Assembling the trellis
- When satisfied the placing, use the nail gun to fasten to the longer planks. Initially, getting your base levelled will help with building the trellis, as it will make it easier to get your angles right!
- Center the base of the trellis perfectly with the edge of the sheet of plywood it is on. Measure to make sure that the distance from the base on both sides to the edges of the plywood is equal.
- Turn to the top of your future trellis. Measure the centrepoint of the entire trellis, and mark it on the centre plank. From here, easily measure and spread out the other planks with equal distance between them with no fuss.
- Find a measurement from the top of the plank to the bottom of the plank. Measure out about 6 to 7 centimetres. This is the level at which the top bar of the trellis will be at.
- Find a measurement midway from the top bar to the base bar at the bottom. The midway measure is where your next bar should be. Afterwards, cut it out, leaving 3 cm to either side and fasten onto long planks with a nail gun.
- All you have to keep doing is find midway measures between two planks and fasten more of them. Furthermore, take care that you have 3 centimetres from either side extra for the overlap.
- Finally, once you’re done, hammer into the ground or drill into the wall!
If you have a bit more time, you can make a simple quadratic step trellis, a rectangular tall trellis or even a trippy, diamond trellis! Additionally, the latter one is an amazing design – even though we tend to make our trellises inconspicuous to put all the focus on our beloved ramblers and climbers, you can give it a spunky paint job and it will stand out as perfect garden decor simply due to how unusual it is! Arm yourself with planks, branches, twines, nail guns and saws and let’s build our roses some support together!
So, which one are you going to aim for? I personally LOVE the rustic branch trellis!
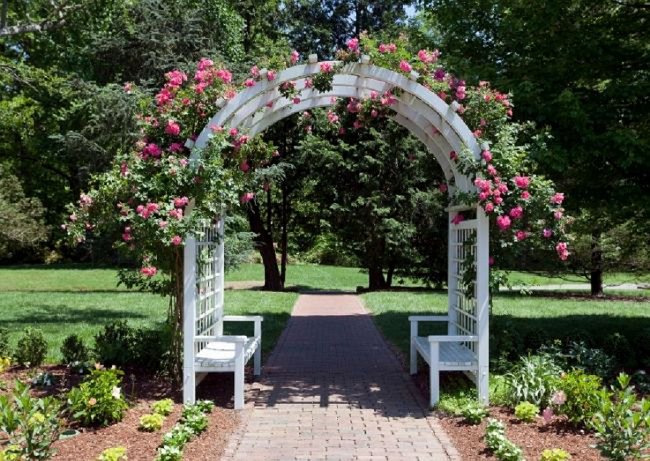
Alternatively, if you love the idea of a rose feature in your garden, you might want to check out this list of amazing rose arches. It saves you all the work, but of course buying is never quite as much fun as DIY’ing! 🙂 But these rose arbors do look so pretty…


