I admit – I am not the biggest fan of hairspray. It’s kinda sticky and just a bit too ’80s. (Get me some DIY salt spray on my lion’s mane instead)!
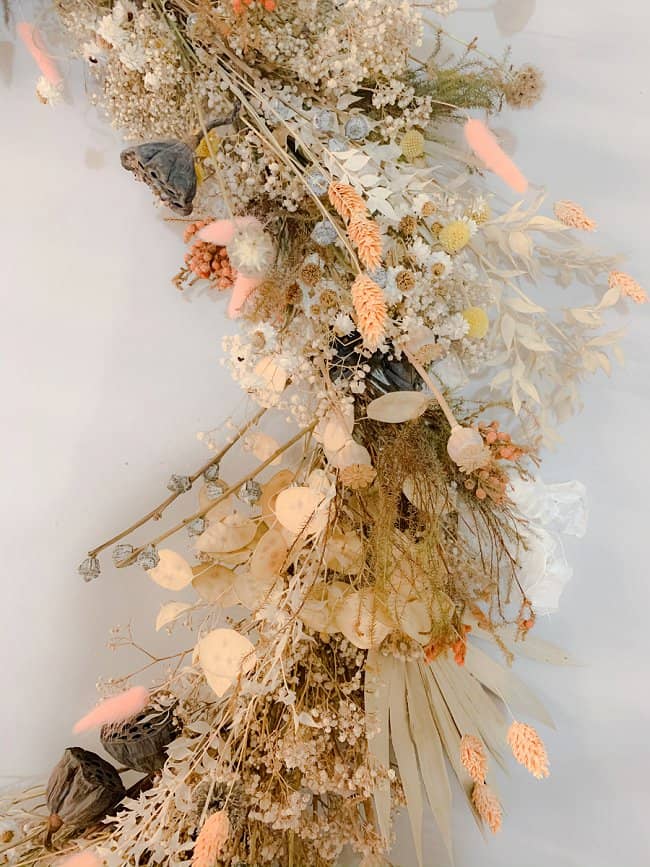
However, while hairspray might not be my favourite choice of haircare, it works miracles at preserving flowers, and dried flowers are SO hot right now!
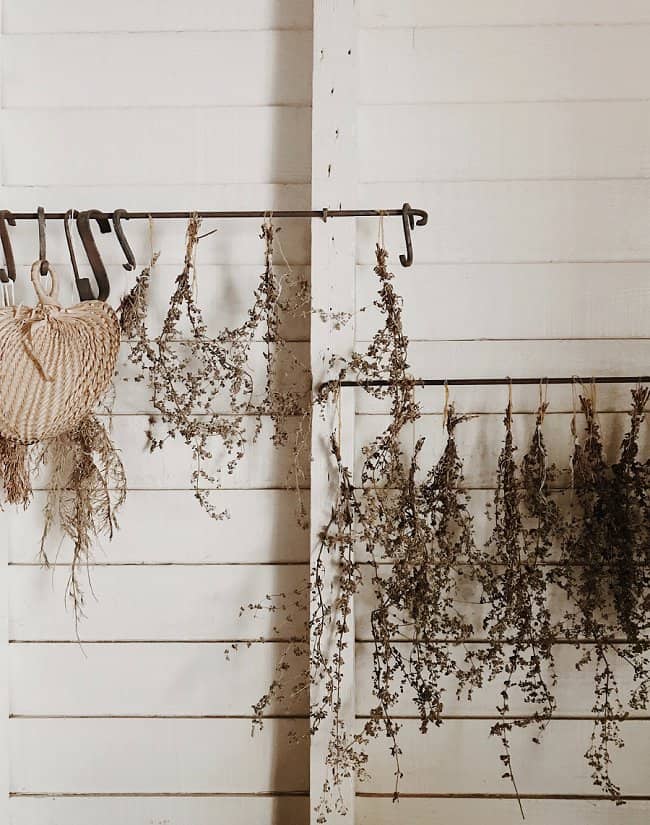
So whether you want to keep a precious rose bouquet, or like me you’re ramping around the countryside in search of flowers and weeds to dry at home, you’re going to want to know how to preserve roses with hairspray (and other flowers too).
I’ve made this post about drying roses (obvs, my favourite flower)! but this method works with almost any flower!
Table of Contents
How To Preserve Roses With Hairspray – Fast Method
The easiest way to preserve roses with hairspray involves air drying them, followed by hanging them upside down and alternating coatings of hairspray. This is the fastest method and will work for almost any flower except tiny delicate ones, which is why it’s great to begin with larger flowers such as roses.
You will need hairspray of any kind, and 1-2 old newspapers.
- Remove the rose or the bouquet from the vase (or cut them off a bush). Don’t spray roses while they are sitting in the vase as they will get very sticky.
- Lay roses onto a newspaper sheet. Spray the hairspray onto the roses from all sides, holding the can 5 to 10 cm away. Don’t spray roses from too close as the pressure force of the spray can damage the blooms.
- Allow roses to dry for 10-20 minutes.
- Use preserved roses as desired. Reapply 1-2 mists of hairspray daily to maintain the preservation.
Method 2
This method is a more labour intensive way of preserving roses with hairspray and making them last. However it results in roses that retain more of their color, strength, and beauty. Which, after all, is probably the reason you’re drying them in the first place, right?
Use this method if you want your dried roses to last a long time, or you are saving them for a special event (dried wedding bouquets are SO hot right now)!
You will need
- garden twine
- coat hanger/s
- hairspray (the extra strong kind)
- secateurs
- elastic bands
The process
- If you cut your own roses, do so during the summer when they are in full bloom to best preserve the colour. Cut roses in the morning and keep them out of sunlight.
- Shorten roses with secateurs. The stem should be 15cm to 20cm in length. Remove abundant foliage – ideally, leave 2-3 leaves on every rose.
- Afterwards, tie twine around the ends of roses. If you have a bouquet, secure it with elastic bands and then tie with the twine. Make sure that the twine is tightly on.
- Hang the roses upside down onto a hanger. Hang about 3-4 flowers per hanger, allowing them to have the space they need to dry.
- Subsequently, have the roses hang in a dark space – anywhere is good, as long as the area is dark with no sunlight coming in. Keep them in the same spot for minimum 1 week, maximum 3 weeks.
- You will know the flowers are ready for hairspray when they are rigid to touch. This is precisely how you want them, as long-term preservation calls for removal of all moisture.
- Use extra strong hairspray. Shake the can well before use.
- Cover the entire roses well while they are still on the hanger. Go all the way around and spray copiously in-between petals from a distance of about 15-20 cm.
- Let the roses dry for 10 minutes, still on the hanger. After the hairspray dries, reapply it. Alternate drying and spraying two to three times.
- Therefore, once the roses dry – display them in a vase. Re-spray every 4-5 days to preserve them indefinitely. Finally, re-apply daily if you notice drooping or blooms falling apart.
Why should I choose to preserve roses?
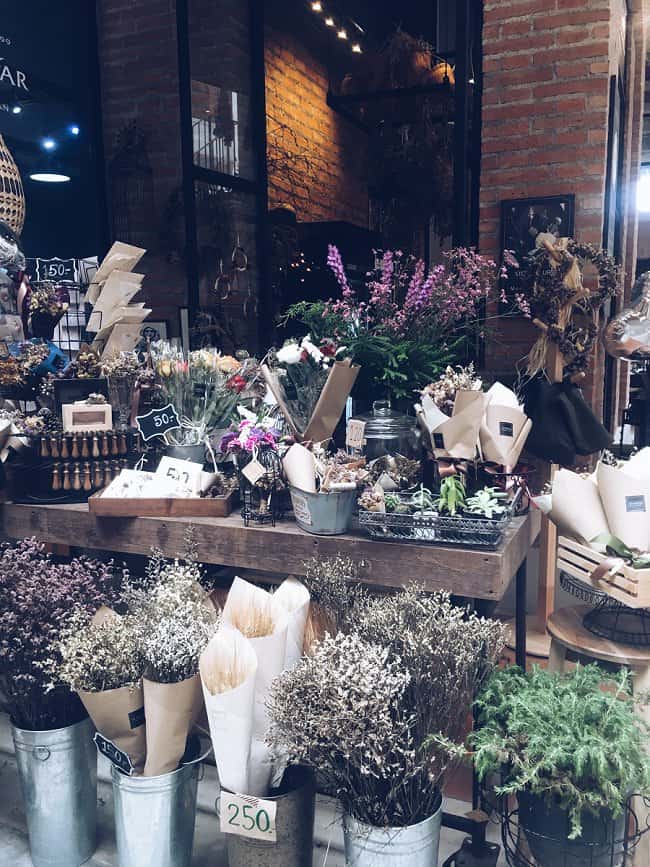
Without any preservation methods applied to a freshly picked rose, it will inevitably discolour and wither. I’ll be honest, when I came across this little dried flower stall in one of the most popular ‘cool’ urban areas in Thailand, I was amazed.
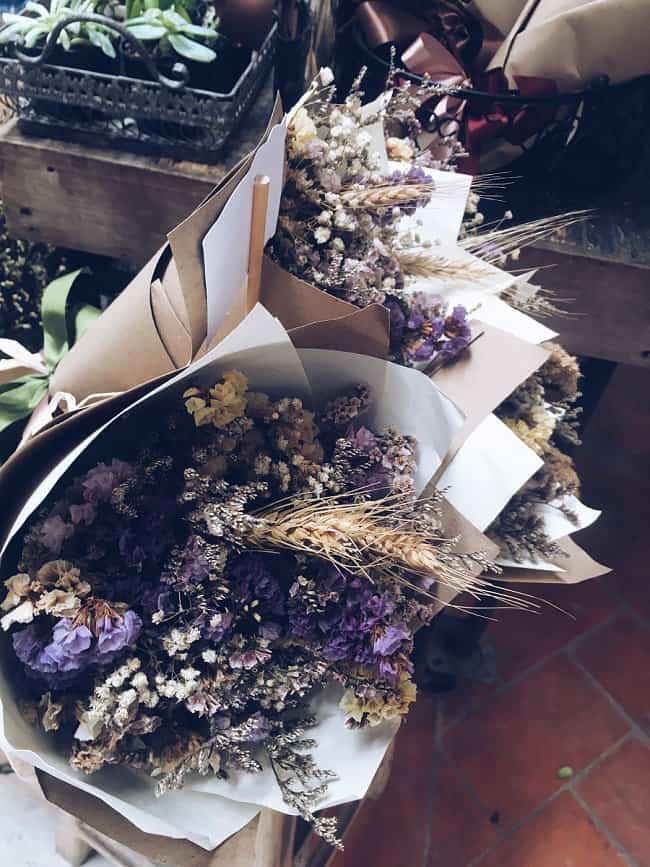
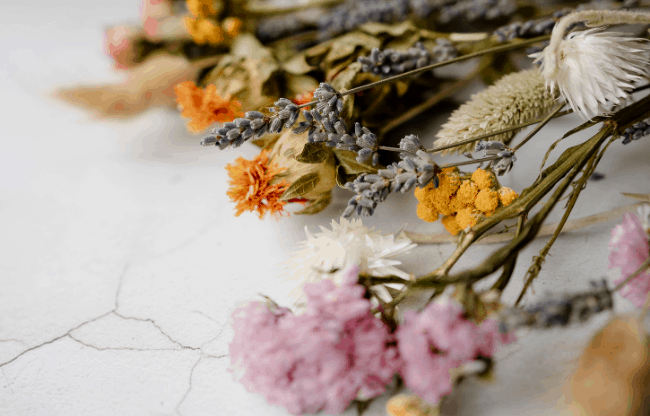
I’d never seen a florist selling only dead flowers before! But I totally got it – they were so beautiful. I mean, look at this! And of course, Asia is so ahead of everything here in the west, so no wonder preserved flowers are currently having a ‘moment’.
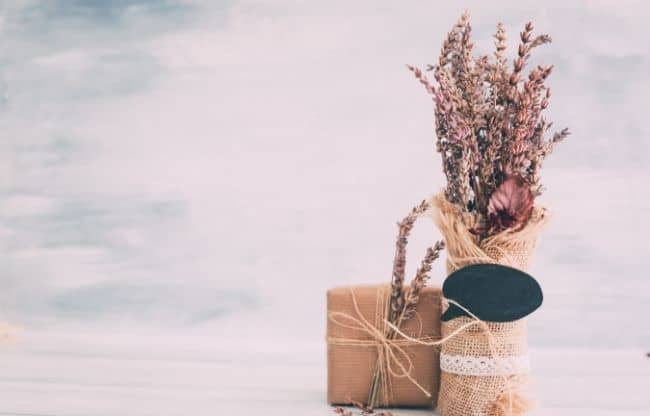
They look gorgeous indoors, (I’ve currently got armfuls of dried wheat that I found randomly at the beach in vases decorating our corners) you can make them into bouquets, wreaths, and beautiful gifts, even gift wrap!
Of course, you might also want to save them for sentimental reasons as well as decorative ones.
You might have a white bouquet of roses from your wedding, or you might’ve gotten a dozen of red lovelies from an admirer or a long-time beau. You might even have a wonderful combination of pink and yellow ones you got for graduation (thanks Mum!). Each bouquet carries a special memory. Personally, I think there is nothing quite like a living memory, preserved in the vitrine or on the table as a lasting remind of life’s most special times.
Preserving a rose is a great way to extend the beauty of a flower while keeping a memory of bygone times – and there are a couple of tricks out there you might want to give a try!
Why should I choose to preserve roses with hairspray over other methods?
There are several different methods that you can use to preserve your rose cuttings and bouquets.
Glycerin
One of the most common ways to preserve roses, often employed by professional florists. Adding glycerin to roses is a great way to have them stay attractive and fresh and prevent premature drying.
Glycerin essentially replaces water content in plants, so roses are never able to fully dry out.
However, the con is that roses in glycerin oftentimes change their texture and appear to be flexible and rubber-like. Preservation in glycerin also often yields loss of colour, which is why some florists add food colouring to maintain vividness of colour. If you want to preserve the colour of your roses well, this might not be the method for you.
Pressing
Pressing is an age-old technique, and I’m sure that we have all done it at some point or the other!
Simply flatten and dehydrate your rose flower. Squish a petal or flowerhead between two pages in a heavy book. Close the book, and pile more books on top. Wait for about 3 to 4 weeks while the pressure applied works to aid paper pages in absorption of moisture from the roses.
The con to this method is that the roses that this method yields are completely flattened and brittle – which is great for journaling and herbariums, but not great for displaying.
Freeze-drying
An amazing method – possibly the only way to preserve the scent of a rose! When freeze dried, all of the moisture from a rose is basically dried out by freezing.
The resulting rose looks super fresh and just like it would immediately after cutting it off of a bush! The colour is more pronounced, the scent is still present and the shape of the rose is well-retained.
However… it is difficult, expensive and not very DIY-friendly, at all.
Silica gel
A method of preserving roses that employs silica gel to extract the moisture from a rose. This method is a good contender for the best DIY method, but it is prone to failing as the process must be done in an airtight container.
Each method has its own pros and cons. Firstly, the thing about the hairspray preservation method is that you kinda get the best of all worlds. It is a technique best employed to preserve flowers for display. Secondly, it doesn’t make them rubber-like and gummy, it doesn’t darken the colour and it doesn’t make the flowers brittle. The shape of the rose is also able to be well-preserved. The only downside is that you can’t really preserve the scent, which only freeze-drying will help you retain.
Finally, whichever way you choose, remember to preserve healthy, strong and aesthetically-pleasing rose flowers. I don’t say this to be mean! but preservation really has a way of bringing out every imperfection during the process. Any rose that you want to preserve that has dots, spots, browning or cuts and holes in the petals will surely continue wilting even after preservation.
There we go, now you fully know how to preserve roses with hairspray – and how easy was that? I’m so excited to create some preserved flower decor for my home this fall!
